Back to School Stickers Books Svg: What to Know Before You Buy or Use This Digital Pack
If you’ve ever searched for back-to-school graphics, you’ve likely come across digital packs labeled Back to School Stickers Books Svg. These bundles promise a full set of files — AI, EPS, SVG, DXF, JPG, and PNG — all at a generous canvas size of 1920 x 1280 pixels. They sound like a perfect solution for stickers, book covers, classroom decor, or handmade goods. And they can be. But I’ve seen too many people grab a pack and immediately hit problems, not because the product is bad, but because they didn’t think about how they’d actually use it. Let’s talk through the common missteps, what to check upfront, and how to get the most out of this type of digital design.
Understanding What You’re Really Getting
First, a quick breakdown of the product itself. A typical Back to School Stickers Books Svg pack includes vector files (AI, EPS, SVG) and raster files (JPG, PNG) of the same design. The 1920 x 1280 px canvas is standard for digital use — big enough for print up to around 6×4 inches at 300 DPI, but not huge for posters. The PNG usually has a transparent background, which is great for stickers. The SVG and DXF are ideal for cutting machines like Cricut or Silhouette. The AI and EPS are for professionals who want to tweak colors or layers in Adobe Illustrator or CorelDRAW.
All of that sounds straightforward. Yet the number one mistake people make is assuming one file works for every job. A JPG won’t cut cleanly on a vinyl cutter. An SVG might not open correctly in Microsoft Word. The DXF is sometimes written for older software versions. Before you download, you need to know exactly what you’re planning to do.
Mistake 1: Grabbing the Wrong File for Your Project
I once had a client who bought a school-themed SVG pack and tried to use the EPS file in a free online editor. It failed. She blamed the product, but the real issue was that EPS requires a vector program like Inkscape or Adobe Illustrator. She could have used the SVG or PNG instead, which would have worked perfectly.
This happens all the time. People see “includes all formats” and think any format will work anywhere. That’s not true. Each format has a sweet spot:
- SVG and DXF: Best for cutting machines, laser engravers, and web use. Avoid for high-resolution print unless you convert carefully.
- PNG (with transparent background): Excellent for stickers, digital planners, and social media graphics. But make sure it’s high enough resolution for your print size.
- JPG: Good for quick previews or printing on white paper. No transparency, so not for layered stickers.
- AI and EPS: For serious editing in Adobe software. If you don’t have those programs, these files are essentially unusable.
The fix is simple: before you buy, decide if you’ll be cutting, printing, or editing. If you’re making stickers with a Cricut, SVG or PNG is your friend. If you’re designing bookmarks in Canva, PNG is easiest. If you’re a professional wanting to recolor the design, AI or EPS is the tool.
Mistake 2: Ignoring the Canvas Size and Scaling
The 1920 x 1280 px canvas is given for a reason, but many users blow it up or shrink it without thinking about quality. I’ve seen people scale a PNG to 300% in Word and wonder why it looks pixelated. The file is built at a specific pixel dimension. When you enlarge it beyond about 150%, raster files (JPG, PNG) will degrade.
Vector files (SVG, AI, EPS) can be scaled infinitely without loss, but that assumes they’re opened correctly. Some cutting machine software imports SVGs at a default size of 2 inches, so you may need to resize inside the software. Don’t just drag the corner handles in a photo editor — you may distort the aspect ratio.
Better approach: Always test the design at your intended final size in the actual software you’ll use. For print, check that the DPI stays above 300. For cutting, verify that lines aren’t too thin after scaling. Many digital packs like this one are well-drawn, but you still need to confirm the thickness of lines, especially if the design includes small text or fine details.
Mistake 3: Not Checking the License or Usage Rights
This is the silent trap. Many Back to School Stickers Books Svg packs are sold for personal use only. Others allow limited commercial use — like selling up to 100 physical products — but not mass production. I’ve seen small business owners buy a pack, stick the design on bookmarks, sell them at a craft fair, and later get a takedown notice because the license required attribution or forbade resale.
License details are often in a small text file inside the ZIP folder, or on the listing page. Read it first. If you plan to use these designs for your Etsy shop, for classroom activities you sell on Teachers Pay Teachers, or for promotional giveaways, you need commercial rights. If it’s not explicitly stated, assume it’s for personal projects only. Contact the seller if you’re unsure. It’s better to ask than to risk your business later.
Mistake 4: Overlooking Color Mode and Printer Compatibility
Digital files come in RGB by default because they’re designed for screens. That’s fine for digital stickers or online use. But if you print them at home or through a print shop, RGB colors can shift to duller or muddier tones in CMYK. The PNG you see on screen with bright red apples might print as a dusty brick red.
If you’re serious about print quality, convert the files to CMYK if you can — but be aware that SVG and PNG don’t natively support CMYK easily. A better workaround is to use the AI or EPS file, open it in Illustrator, and edit the color mode. Or simply print a test copy before running 50 sheets. Many problems with printed stickers come from color mismatch, not from the original design.
Mistake 5: Forgetting About Layering and Grouping
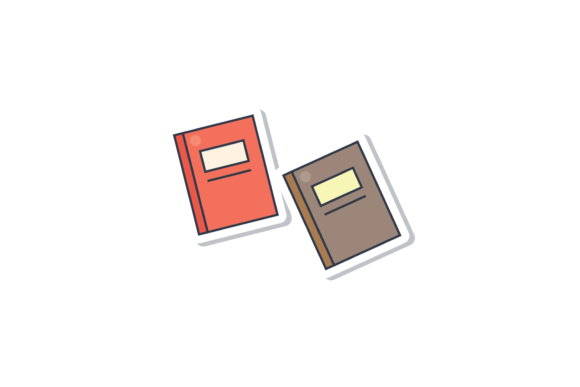
In a packed design — especially one with books, stickers, school supplies, and text — layers can be grouped or locked. Users sometimes try to move one element and end up moving the whole illustration. I’ve watched someone struggle to separate an apple from a book in an SVG because they didn’t realize it was a single compound path.
If you need to isolate one element (e.g., use just the “back to school” text), the AI and EPS files are your friends. Open them in a vector editor, ungroup objects, and delete what you don’t need. If you don’t have that software, consider buying a simpler design that offers separate objects. This specific pack typically provides the whole composition, not individual pieces. That’s fine for a single sticker or book cover, but if you need flexibility, adjust your expectations.
Mistake 6: Assuming All Software Supports All Formats
This sounds obvious, yet I regularly hear from people who download a DXF and can’t open it because they only have a free photo viewer. Or they try to import SVG into Microsoft Office 2010 and get an error. The formats are robust, but software support varies.
- SVG works in most modern browsers, Canva, Inkscape, Illustrator, Cricut Design Space, and Silhouette Studio. But older versions of PowerPoint or Word may convert it to an uneditable image.
- DXF is standard for cutting machines, but not all DXF versions work on all machines. Check that the package says “Cricut-compatible” or “Silhouette-compatible” if that matters.
- PNG is the universal fallback — almost anything opens it. But note that some cutting software expects a vector path, not a raster image.
If you’re a beginner, start with the PNG for print projects and the SVG for cutting. Test one file before you invest time in batch production. If something doesn’t open, try an online converter (like CloudConvert) to resize or reformat — but be aware that quality can degrade.
What to Check Before You Download or Buy
Before you click purchase or extract that ZIP file, run through this quick checklist:
- What’s my primary use? Cutting, printing, editing, or all three?
- What software do I have? If you only have free tools, stick to SVG and PNG.
- What’s the license? Personal or commercial? Can I sell finished products?
- What size do I need? 1920 x 1280 px works for many sticker sizes, but verify it’s not too small for your project.
- Are there hidden details? Open the AI or EPS preview (even in a free viewer) to see if all layers are editable.
- Can I test it? Some sellers offer a sample download. Use it.
Taking five minutes to check these points can save you hours of frustration later. This particular pack is popular for a reason — the designs are clean, the formats are standard, and the 1920x1280 canvas gives a nice balance between quality and file size. But like any tool, it works best when you use it the right way.
Better Approaches for Common Projects
Let’s apply this to realistic scenarios. If you’re a teacher making classroom name tags, use the PNG. Open it in Canva, add text boxes, and print. The transparent background lets you layer over colored paper. If you’re a mom creating water bottle stickers for your kids, use the SVG in Cricut Design Space. Adjust size to the bottle contour, check cut lines, and go. If you’re an Etsy seller offering printable bookplates, use the JPG or PNG, but convert to CMYK in a photo editor if possible, or order a proof print before listing.
One more practical tip: keep the ZIP file organized. When I download these packs, I create subfolders for each format — AI, EPS, SVG, DXF, JPG, PNG — so I don’t need to scroll through a mess of files later. Also, rename the file to something descriptive, like “books-back-to-school-01.svg,” so it’s searchable on your computer. Digital organization is a simple habit, but it prevents “I know I have that design somewhere” moments.
Getting the Most from the Design Itself
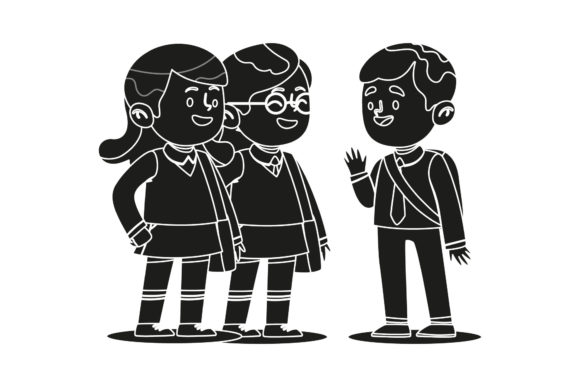
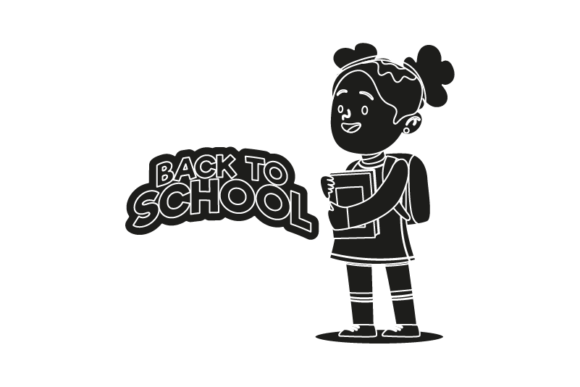
The design in Back to School Stickers Books Svg packs typically includes a variety of icons: books, pencils, apples, rulers, school buses, and motivational text. If you’re a marketer creating a back-to-school campaign, these elements work well as badge-like stickers on social media posts or as print files for promotional swag. But resist the urge to use every element in one design. Pick one or two icons per project, scale them properly, and maintain a clean layout. Less clutter often communicates the message more clearly.
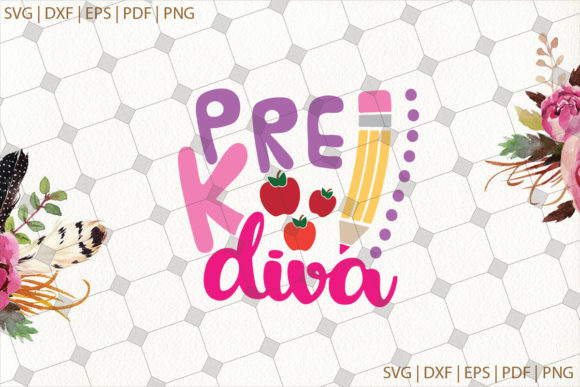
If you’re a hobbyist or crafter, also consider the color palette. Many of these packs are designed in bright primary colors — red, blue, yellow, green. That’s perfect for children’s products. But if your aesthetic is minimalist or muted, you might need to adjust colors using the AI or EPS file. If you don’t have software to edit, look for packs that offer alternative color schemes or ask the seller if they can customize.
Final Thoughts Before You Use the Files
The digital product Back to School Stickers Books Svg is a solid foundation. But like any ready-made design, it rewards a little up-front effort. Avoid the common mistakes of grabbing the wrong format, ignoring scaling and color, skipping the license, and assuming every software will work. Instead, take a minute to plan, test a single file, and understand what each format does best. You’ll end up with crisp stickers, professional-looking book covers, or cut files that work on the first try.
Smart preparation turns a good digital pack into a great finished project. And that’s what really matters when you’re creating for yourself, your classroom, your customers, or your brand. So check the details, choose wisely, and then enjoy the process of bringing these school-themed designs to life.